

Paper Quilling for Beginners: Getting Started with Paper and Tools
Have you ever wondered how a narrow strip of paper becomes a delicate flower, leaf, or decorative flourish? That's the charm of paper quilling. You need only a handful of supplies to explore it, and your first attempts don't need to be perfect.
A Little Paper, a Lot of Possibility
Paper quilling is the art of rolling and shaping thin paper strips into designs. Once you understand how the paper behaves, the same basic skills can become greeting cards, gift tags, framed art, or tiny decorative details.
What You'll Need to Begin
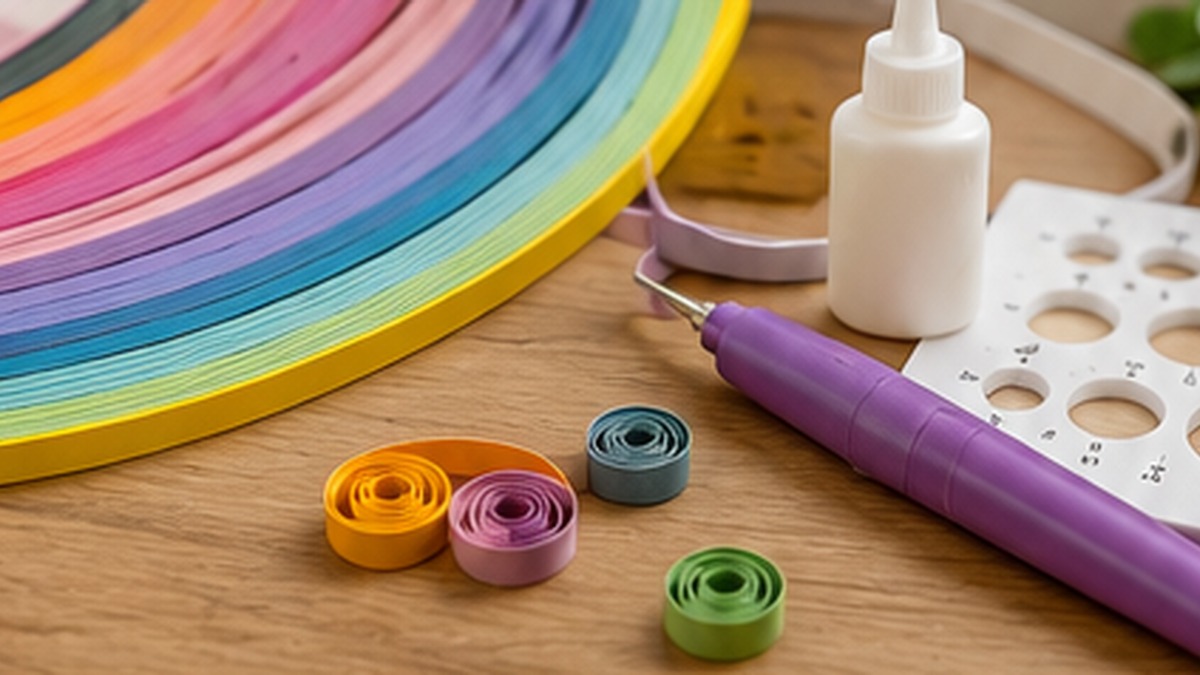
Start with quilling paper strips, a slotted tool, paper-safe glue, small scissors, and scrap cardstock. A toothpick works well for tiny glue applications. You can add specialty tools once you know what you enjoy making.
This article includes affiliate links. If you buy through them, Plum Forest may receive a small commission at no extra cost to you.
Choose Paper That Suits Your Project
For delicate work, approximately 3 mm (⅛-inch) strips are a friendly starting point. Wider strips produce taller, more pronounced edges. Neither is automatically better; the effect depends on what you're making.
Always check both strip width and paper weight before ordering, especially when buying different colors. Two color packs can look similar online but arrive in different widths or thicknesses. Consistent specifications help your finished shapes look balanced.
Beginner Supplies Worth Considering
Quilling paper strips — check the listed width and paper weight for your intended result.
Slotted quilling tool — a simple hand tool for rolling strips.
Precision-tip craft glue — useful for controlling small amounts of adhesive; confirm it suits paper.
Circle sizing board — optional help for repeating a consistent coil size.
Beginner quilling book — optional inspiration for practicing new designs.
Electric quilling tool — an optional upgrade, not needed to learn; check compatibility with your strips.
Three Tips Before You Start
Keep your rolling pressure gentle and steady. Let the paper move smoothly instead of tugging it tight.
Use the smallest practical amount of glue. Too much adhesive can leave marks or warp delicate shapes.
Practice on scrap cardstock first. It's easier to explore colors and placement without worrying about a finished project.
When Things Don't Look Quite Right
If coils loosen unexpectedly, give the glued end time to grip. If similar pieces turn out different sizes, compare strip lengths and widths before assuming your technique is wrong. If the paper wrinkles, ease your rolling tension. And if glue is visible, try a toothpick or a fine-tip applicator next time.
Ready to Make Something?
Once you're comfortable with your materials, visit the Plum Forest Project Library to discover creative projects and see what's available to try for free. You'll also find more possibilities in the Creative Community whenever you're ready to explore further.
Where Creativity Feels Like Home.


Comments